In this series of blogs I explore what workflow means for me in a very practical way when I am doing my photography – be it for leisure or for a more important occasion. You can check out Part I of that series here. In it, I discuss my preparation workflow – the steps and checks I put in place as a matter of course before I even leave my front door. I also acknowledge in that article that workflow can mean very different things for different people and for different scenarios. The workflow for a wedding photographer who shoots high volume weddings every weekend would be considerably different to the casual street shooter wandering the laneways of any big city. In one the stakes are high. A high paid gig comes with risk especially where the opportunity to capture those images only occurs once. In the other, a missed opportunity is just that and nothing more.
Today I want to discuss with you my workflow for when I am actually out and about taking shots. The production of the images. And in thinking about this, as I write, I realise that there are three really key and distinct scenarios where I use an altered workflow for how I produce those shots. The first and most simplest is my leisure photography. That covers anything from my street photography sessions in and around Melbourne to family photos at Birthdays and holidays. The second would be my travel photography where the chances of being able to return and take the same or similar shots again are pretty restricted. And finally the third scenario would be when I undertake a paid or higher stake photography job. And by this I mean events, wedding and the likes. Where the opportunity to retake an image in non-existent and other people’s hopes and expectations are a key factor. So lets break those three scenarios down.


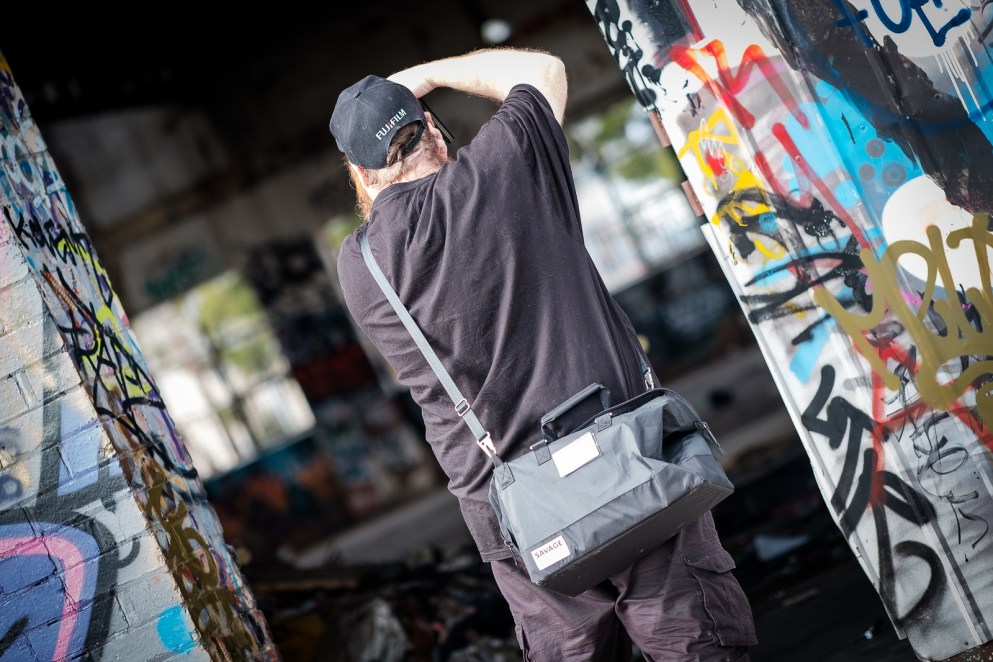
As with the images above, casual or leisure shooting is just my day to day thing. And for the most part I will utilise my Fujifilm X70 camera for that task. I use this at family events and I use this for a lot of casual street photography. It is a neat size and is easily pocketable. And it lives in my EDC or Every Day Carry bag with a charged battery and a formatted SD card. Regardless of the situation I always shoot in RAW for this camera. Whilst we will talk about post-production in a future blog, RAW files are just so much easier to manage and edit. I rarely would carry an extra batter for this camera in my EDC as I also have a USB cable and power bank in that bag to charge either my iPhone or camera. So easy. If I am heading out for a more intense street shoot then I will swap to my ONA Prince Street bag. It is a waxed canvas bag and holds a good amount of gear without being too bulky. In it I will pack an extra battery for the X70. I will also pack the Fujifilm X-T2 with the Fujifilm XF23mmF2. Again a charged battery on board and a spare in my bag. I will have the dual SD card slot set to sequential save in RAW but really I wouldn’t get anywhere near through a single 64Gb SD card on these trips.


The second scenario is for my travel photography – especially for my trips to Japan. My workflow is different to casual shooting as the chances of me being able to return and capture any image is severely limited. So I take some measures to ensure I have everything set right – a process I have employed on all three of my trips. Firstly however, I want to take a moment to talk about what gear to take on such a trip. On each of the three trips to Japan, I packed too much camera gear. Well, too many lenses. Especially the first two times. I packed big zooms and primes and I suffered for it in having to carry too much gear that I didn’t end up using much. I thought by the third trip I had learnt my lesson but even then I only used half the gear I packed. On that trip I only used the Fujifilm X-T2 and the XF23mmF2 for 99% of the trip. All of the images above were shot in 2017 with this combination. This combo was perfect for the street and travel photography I was doing. The combo is water resistant which was perfect given how much it rained. In the Fuji X Aus Facebook group this questions of what to take on an overseas trip comes up all the time. I always recommend the lightest possible option – one camera and one lens.
So on these trips I would always shoot in RAW and have the dual SD cards slots set to a backup save. So every image is saved to the SD card in slot 1 and then again to slot 2. This way I have a definite backup of every image. It does mean I chew through twice as many SD cards but given that a 64GB card holds about 2,500 RAW images with the Fujifilm X-T2 – it is not too bad. Once I fill the dual cards I put one copy in a zipped pocket in my travel wallet (that is with me always and holds my cash, passport, cards, etc). The other I put into an SD card wallet in my suitcase that obviously stays at my hotel. Might seem a little excessive to some but could you image loosing thousands of photos from a ‘photography holiday’? Devastating! The SD cards are all numbered so card 1 and 2 are in first, then they get replaced by card 3 and 4 and so on. On this trip I had and used six 64GB SD cards. Yep, almost 7,000 photos plus the 7,000 backup copies.
The final scenario is where I shoot a more important event. I have photographed a few smaller weddings, parties and most recently an engagement party. Most of these have been for friends but I still take measures to ensure I have everything covered to capture those important and irreplaceable memories for people to enjoy. Again, imagine loosing the images of a friends wedding? Even more devastation. So the camera is set up again for the dual SD slots to create a backup copy of every image taken. Given the size of the jobs I usually undertake, it is very rare that I would have to swap out the SD cards. But I always pack more regardless. SD card failures are incredibly rare but it can happen. Batteries are a more important consideration in this scenario. I will always have two spare batteries in my pocket whilst shooting the event. As for the lenses I use, I have found that either a zoom such as an XF18-55mmF2.8-4 or a prime such as the XF23mmF2 perfect for my shoots. Although I found at a wedding that the the zoom is not as good in lower light. At a recent engagement party I shot, I had the XF23mmF2 on most of the time as it was a function room packed with people. The wider view of the XF23mmF2 was perfect in this scenario. I would swap to the XF50mmF2 from time to time to get a different set of images – especially portraits of people. I would just keep one lens in my back pocket – the F2 lenses are that small and compact – and never had to touch my camera bag once. Above are images from the engagement party.
That kind of wraps up my production workflow for most situations. I guess that they all sound a little similar but the small variations can make a big difference even just to your own piece of mind. I guess that the other key factor in the production stage is that the gear I use makes the fact that I am ‘the photographer’, in any scenario, a less intimidating element. This is especially so in events where having someone shove a big DSLR and big lens in your face quite intimidating and perhaps even makes people a little less natural. However I have found that when using a smaller camera like the Fujifilm X-T2 and the XF23mmF2 lens – a tiny combination by DSLR standards – people are less intimidated and don’t act differently just because there is a camera pointed at them. And I suppose the same applies to using this gear in street photography too. I hope you have gained something from this blog. In the third and final part of this series on workflow I will take you through my post production workflows and habits. Happy shooting.

3 Responses to My photography workflow with Fujifilm X Series – Part II – Production.
[…] differences in my processes and I will go through those here again just as I have with Part I and Part II of this blog […]
LikeLike
Nice to see you use a similar simple setup for street and travel. I use an XE-3 and 23mm f2 for travel and will often switch the lens for street as I like vintage ones too (some are not good but get a good response from people when they see it, like the tiny old Industar 69 28mm f2.8 and Lomo T43 40mm f4), but I never take more than one. You have got me wondering about an X70 now though. 😁
LikeLiked by 1 person
Thanks. Yes that X70 is pure joy to shoot with. You should give one a try.
LikeLike